| |
||
Overview
The ProblemThe problem will occur sooner or later, your car starts to leak oil due to bad seals. There are numerous places where you can have oil leakage so it is important that you first do a thorough investigation where exactly the oil is coming from in the first place. In my case it was easily verified the rear crankshaft oil seal was leaking (oil was leaking out in the narrow opening between engine and gearbox). To fix this you must remove the gearbox. But I also had oil leakage between the engine block and the oil pan. A new gasket was obviously needed. This can be done without remove the engine (but you have to raise it quite a bit). But I also found out that oil was leaking from the back of the engine, against the firewall. So I realized that it would be best to lift out the engine and fix all seals and gaskets once and for all. Tools, Skills And PartsThe job is time consuming, requires a lot of different tools and have some few tricky parts. As in every job everything can happen and since this job contains a lot of different tasks, Murphy's law will apply and convert a simple task into a nightmare. But to summarize, if you don't are under time pressure the job will go just fine. Difficulty Level
The following tools are required for this particular work (tools marked with green checkmark are optional).
The following spare parts are required for this particular work. Note that the BMW internal numbers are intended for a BMW 535i E34 -89.
Removing Exhaust SystemThe first step is to disconnect the two pipes connecting the catalytic converter and the center muffler. Each pipe is connected using two flanges held together with two 13 mm hex head nuts and two 13 mm hex head 8.8 grade screws. Use for example two 13 mm box-end wrenches (or one 13 mm box-end wrench and 13 mm socket on a ratchet wrench) and remove all four nuts and screws. The flanges can not be removed so leave them on the pipes. 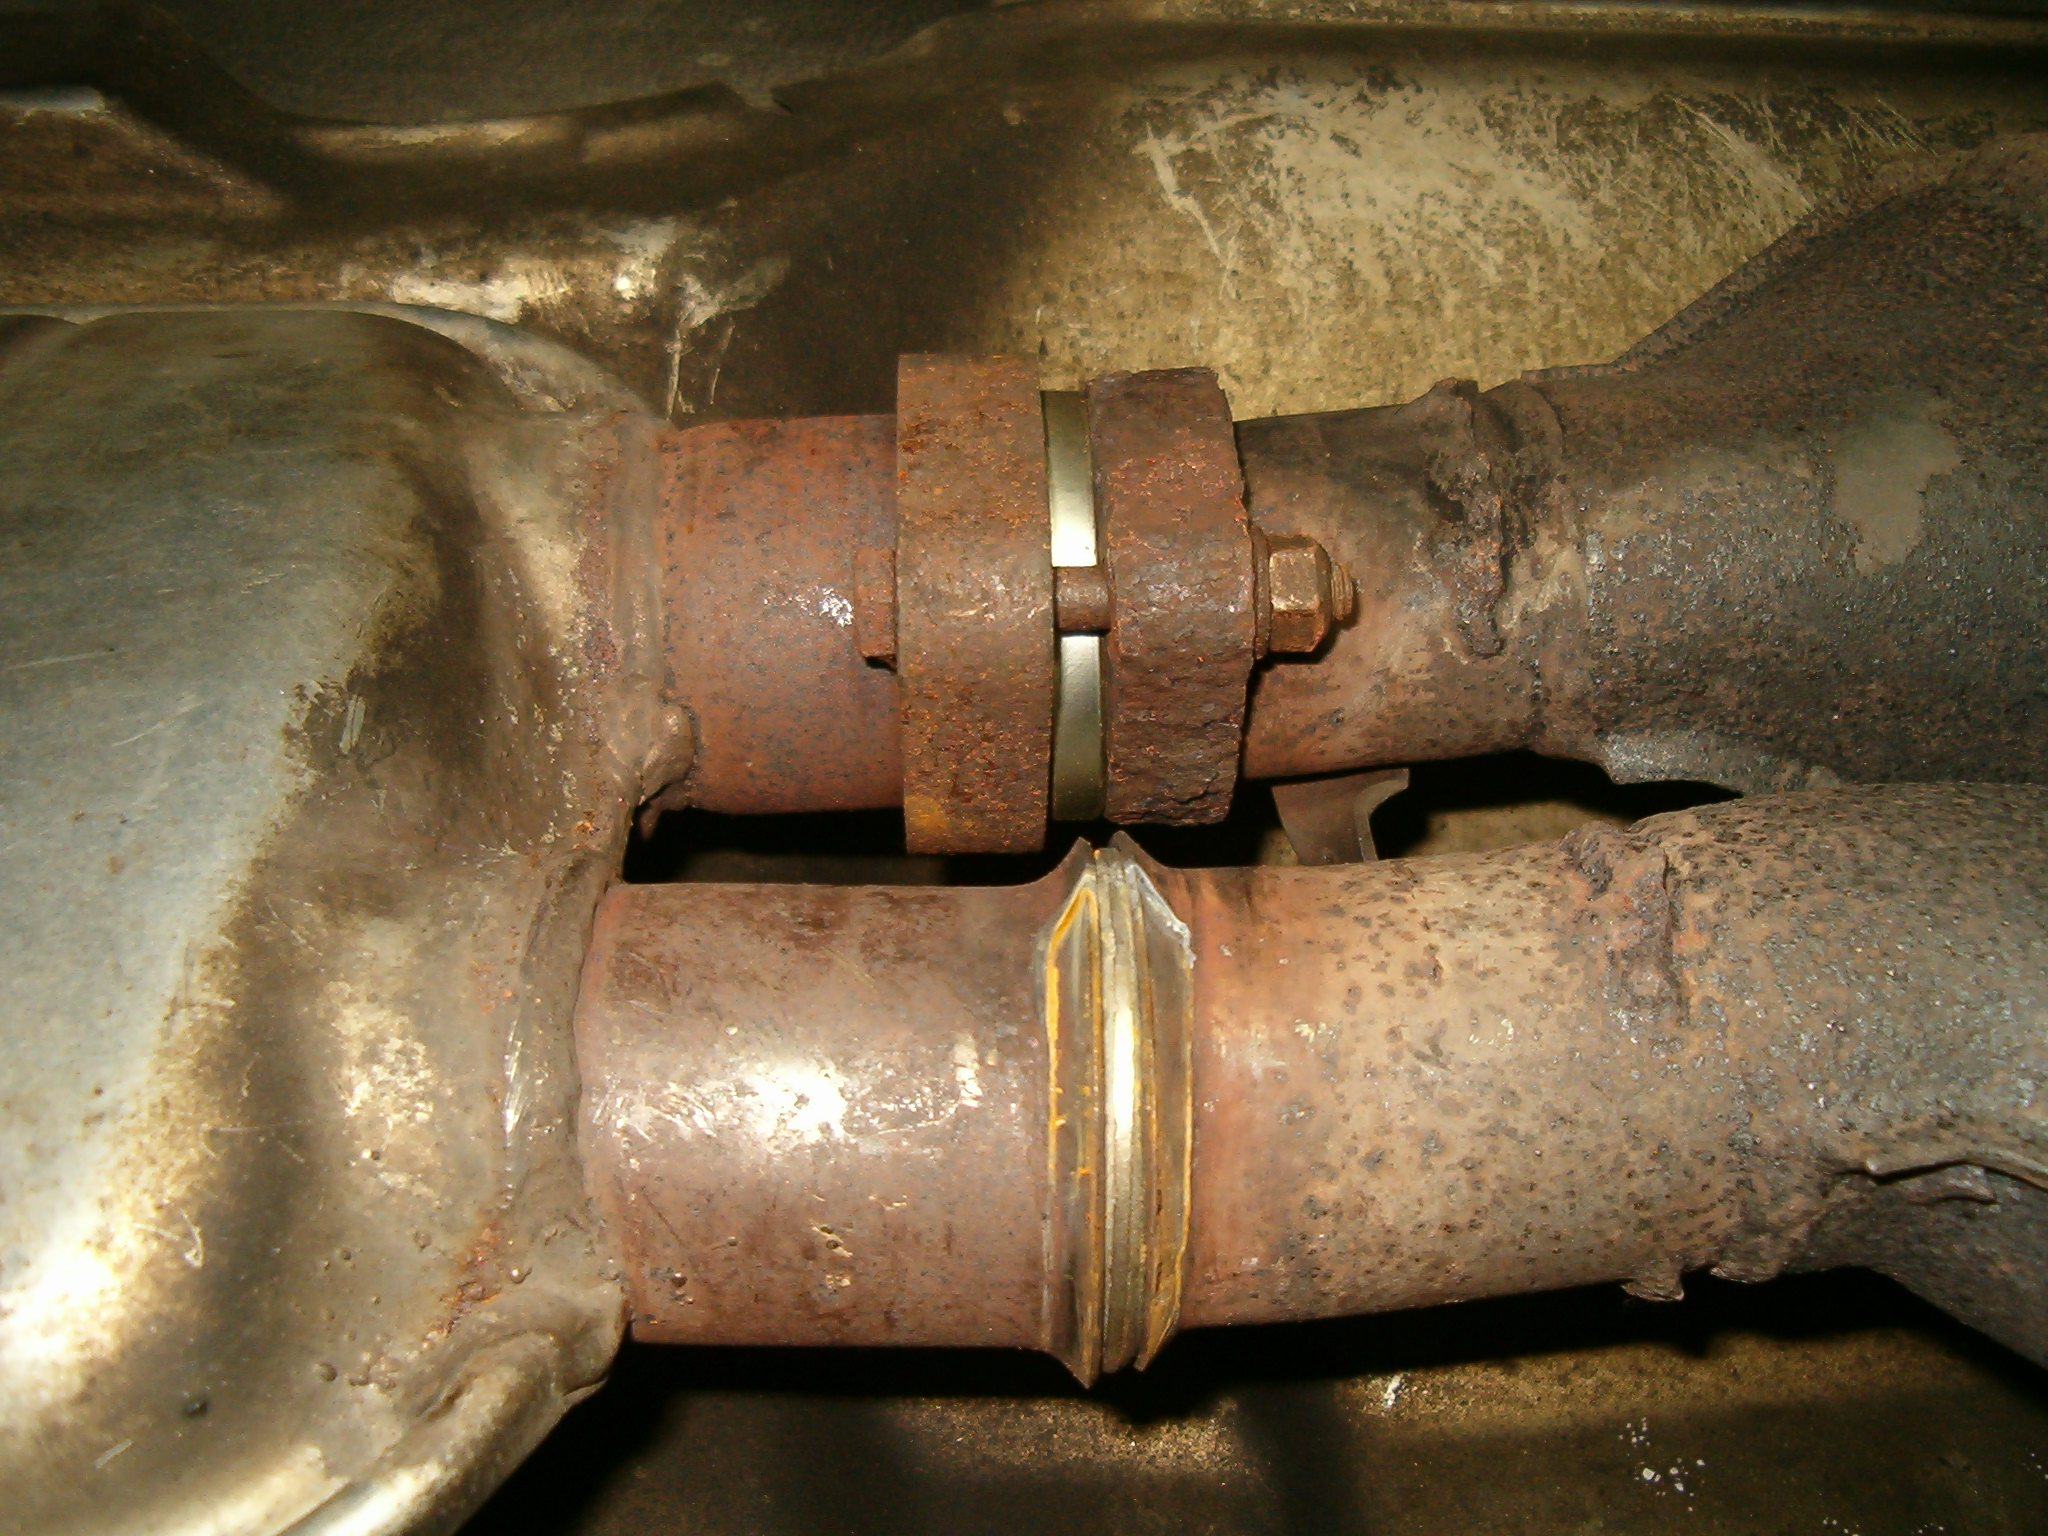 Connection between catalytic converter (to the right) and center muffler (to the left). Support and raise the center muffler with a jack. Raise the center muffler a couple of centimeters until the two rubber rings are hanging loosely. You can see the location of these rubber rings in the upper right corner in the picture below. Now disconnect the rubber rings from the chassi mounting point (and leave them attached on the exhaust system). Try lubricate with some ATF oil (this type of oil is not aggresive against rubber which ordinary engine oil are) around the rubber ring and the chassi mounting point if you have problems. 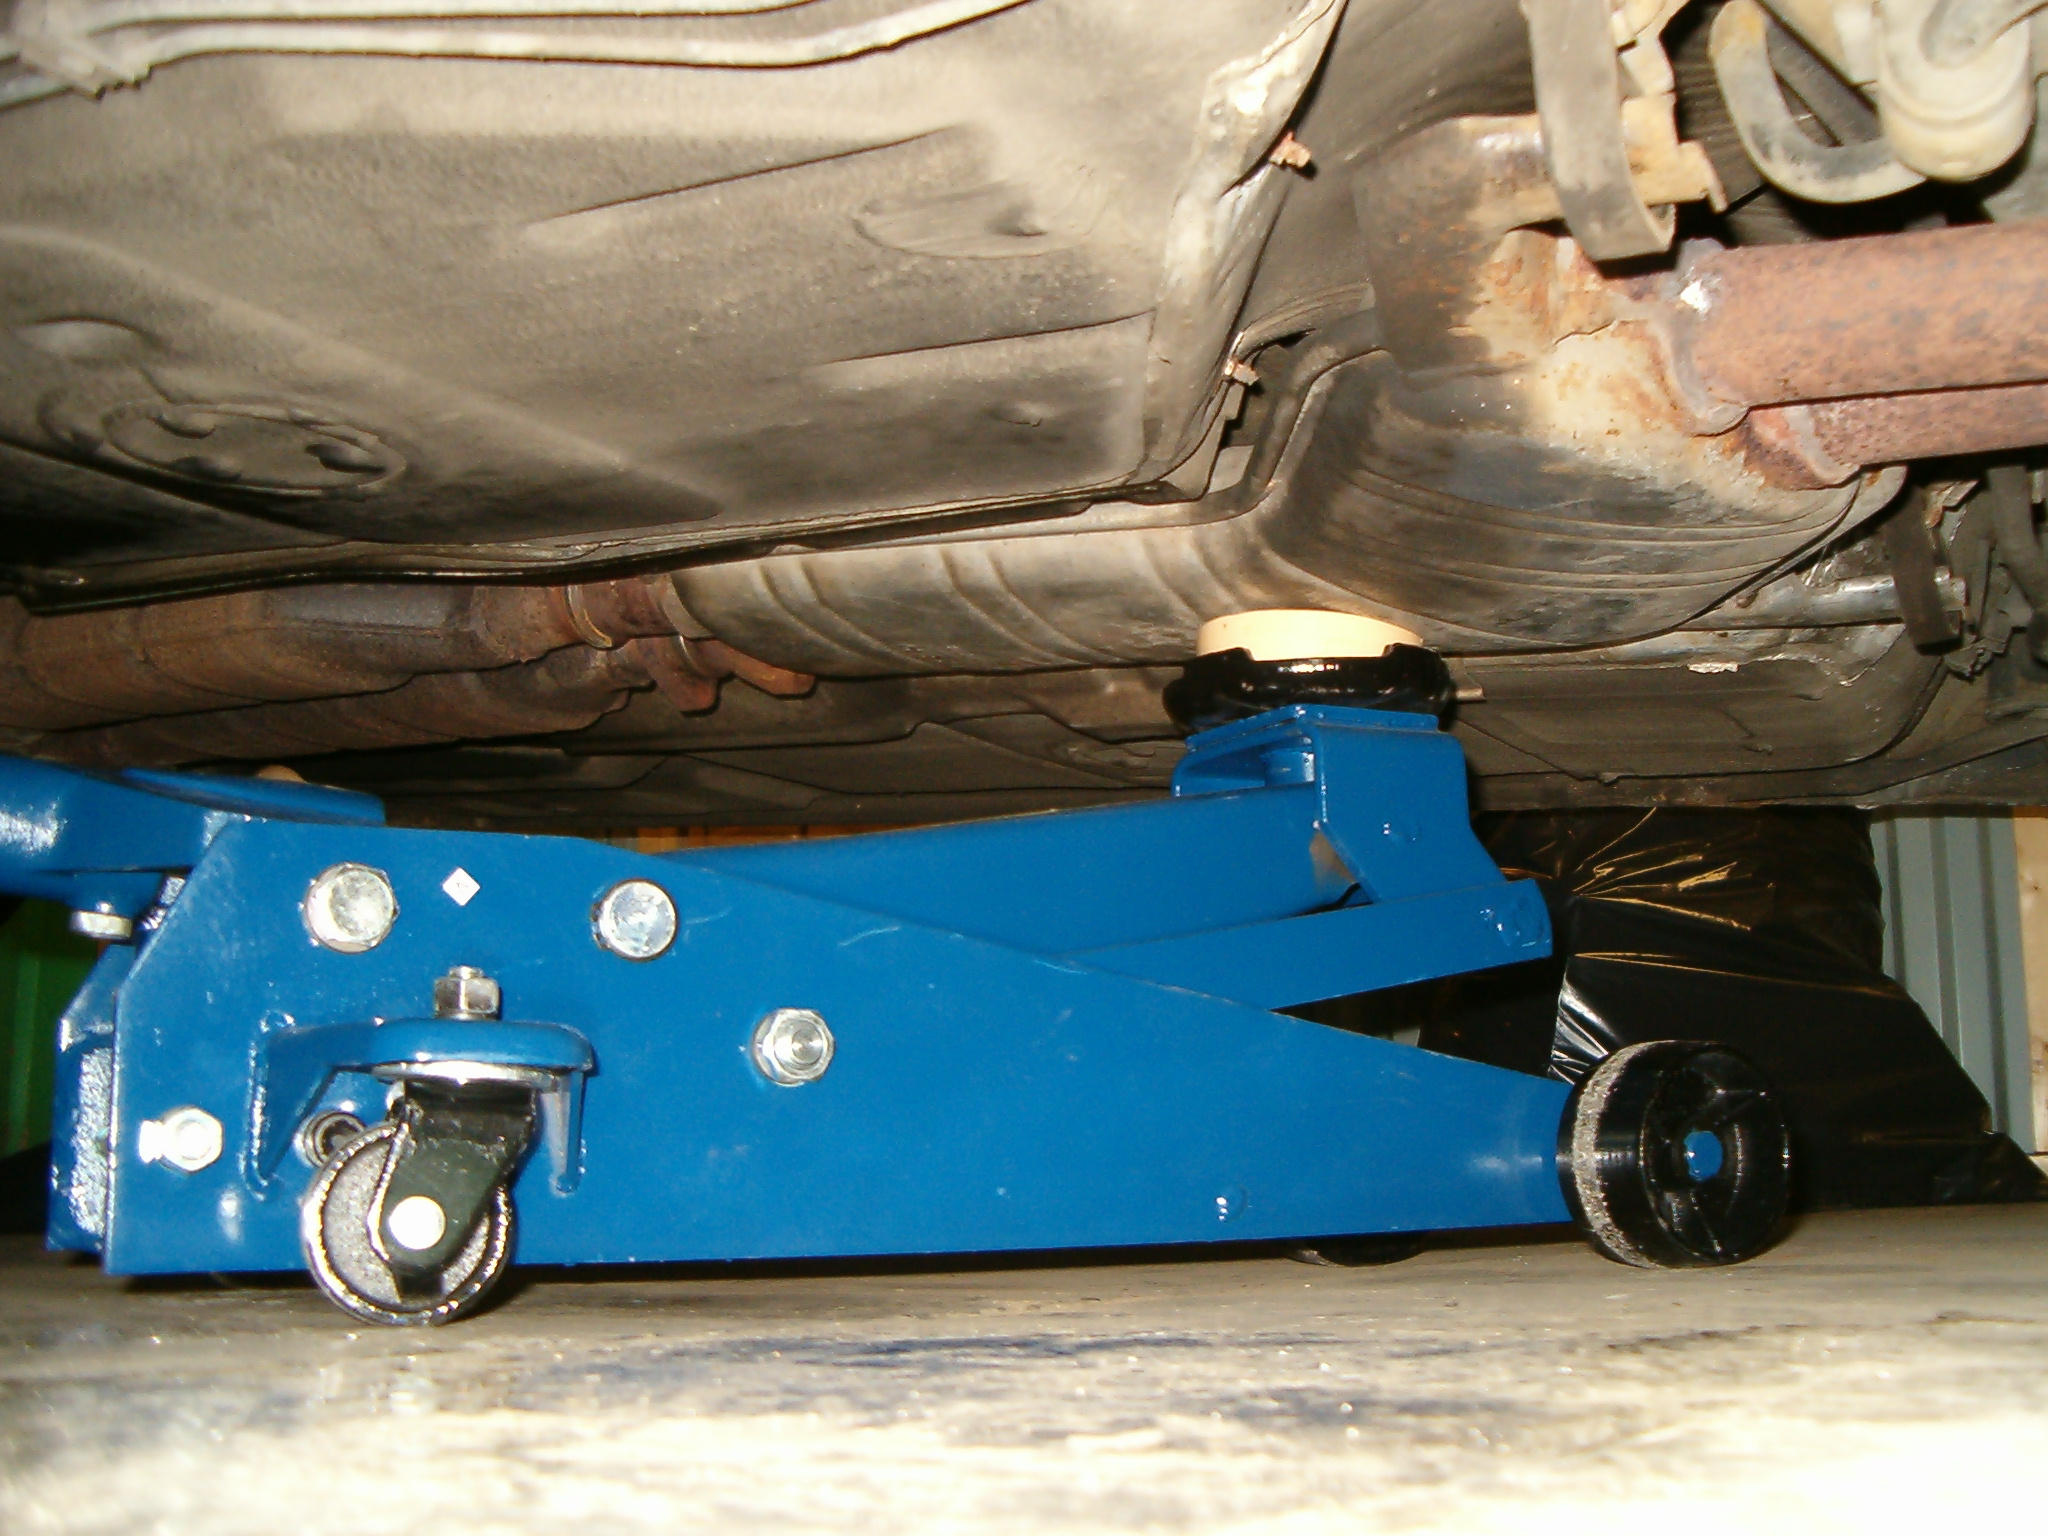 The center muffler supported and raised by a jack. Now support the rear muffler with a jack. The rear muffler is mounted using a bracket on each side. The right bracket is easy to access while the left bracket is more difficult due to the rear spoiler. If the brackets have been there for more than a couple of years, I strongly recommend to cut the rubber ring (just above the lower bracket) instead. Then go and buy new rubber rings and brackets. It's worth it! (The cost is only about 237 SEK). 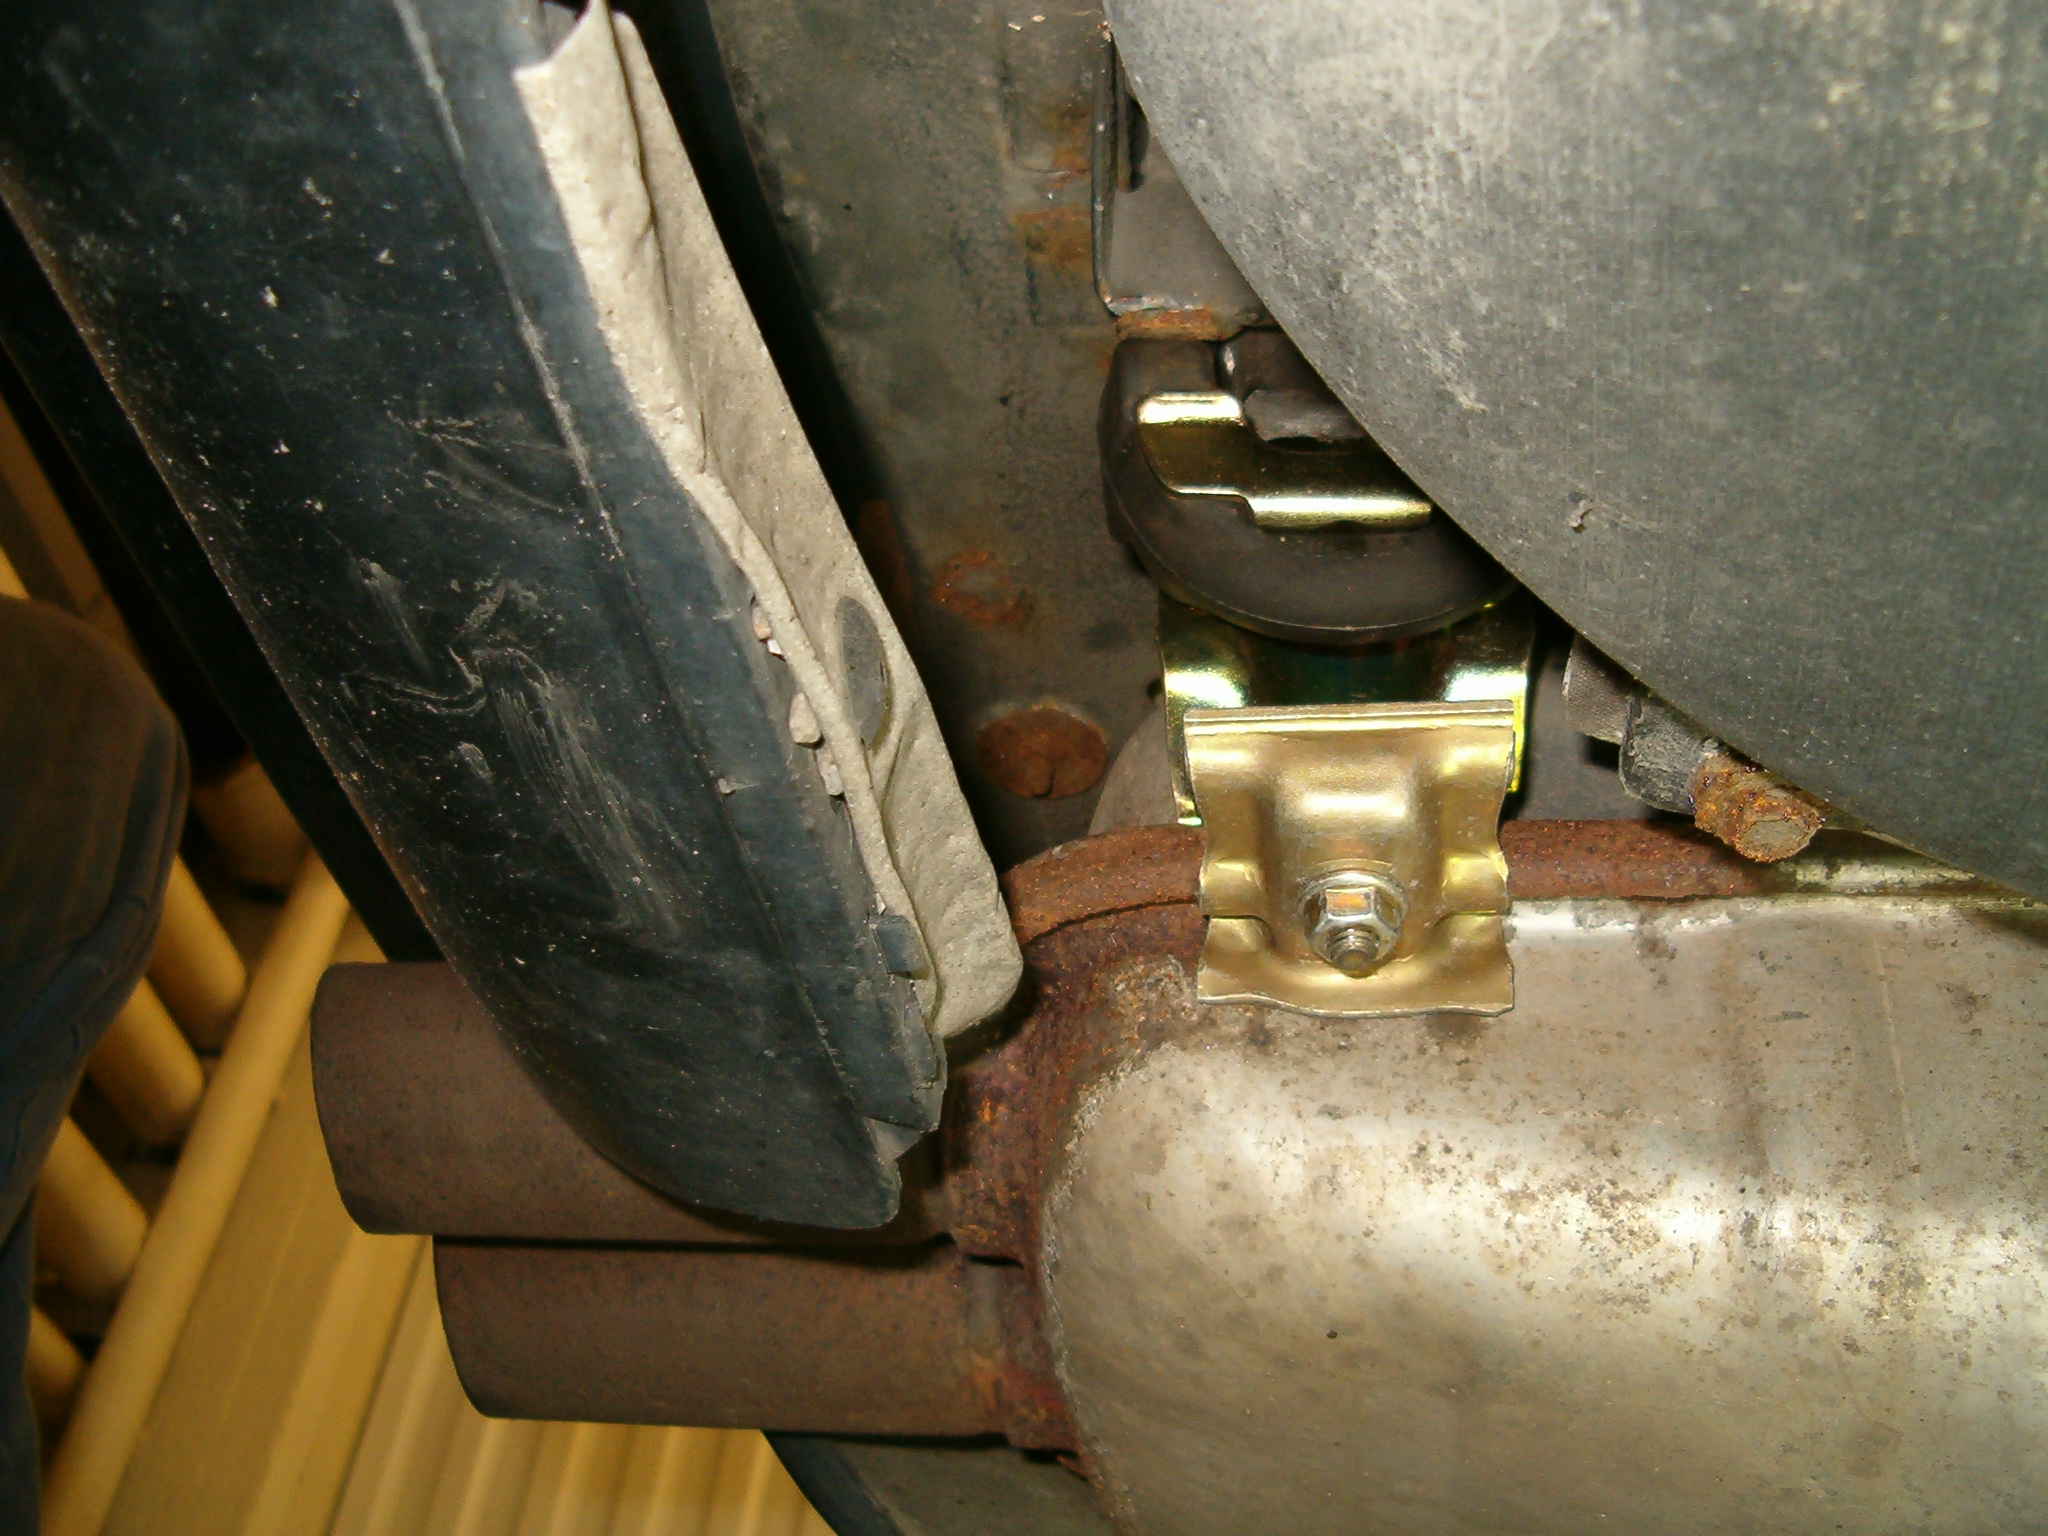 The right rear muffler bracket held together with a 13 mm hex head collar nut. Remove the 13 mm hex head collar nut holding the bracket together. Remove the nut and the lower part of the bracket completely. After you have removed both brackets the exhaust system will now rest on the two jacks. |
Pull the entire exhaust system backwards a couple of centimeters so the pipes of the catalytic converter and the center muffler will be separated. Probably the 47 mm gasket ring for the left pipe (and maybe the 50 mm gasket ring for the right pipe) will fall down on the floor. When the pipes are completely separated you can lower the front jack (the one supporting the center muffler). Place a jack stand to support the catalytic converter. Next push the entire exhaust system forwards. Now you should be able to lower the rear jack (the one supporting the rear muffler) without being blocked by the rear spoiler. Finally lower both jacks and store that big package in a suitable place! 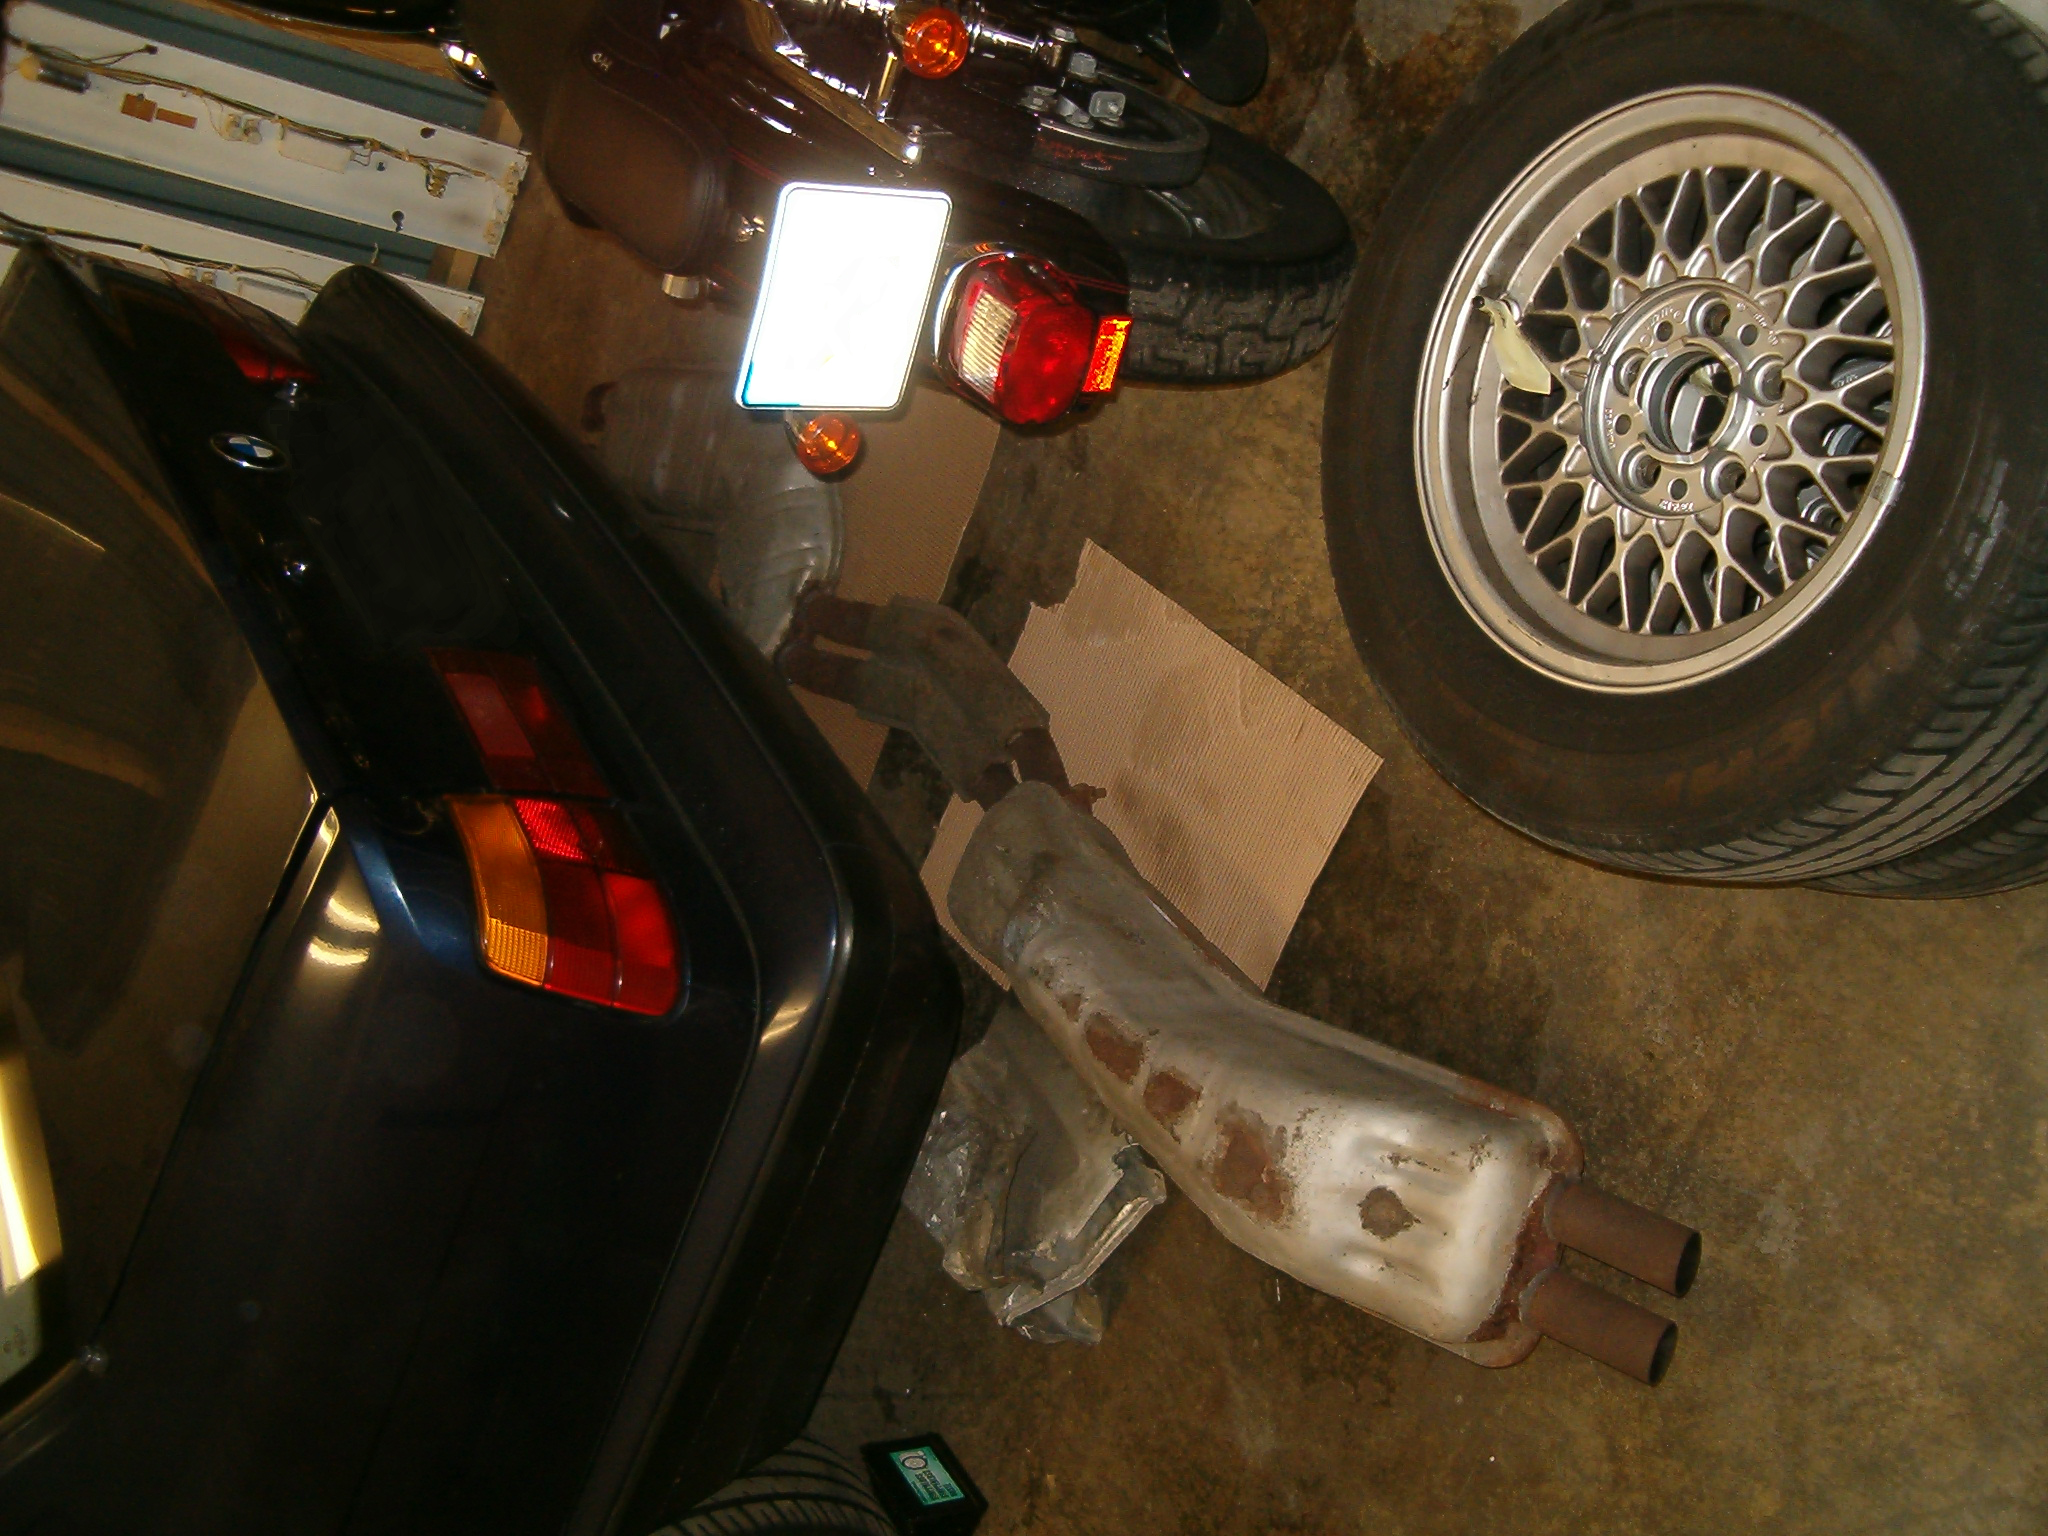 The exhasut system (consisting of center and rear muffler) removed. Removing Catalytic ConverterThe last thing to do to get full access to the driveshaft is to remove the catalytic converter together with the front exhaust pipes. Start by removing the two plastic covers located under the front of the car. It's the "engine compartment screening" and the "air guide" (only for those with manual transmission). The "engine compartment screening" is attached to the chassi with four 10 mm hex head plastic nuts and the "air guide" with four 10 mm hex head screws. Next remove the metal heat shield covering the idler arm located just above the right side of the front subframe. It is mounted with two 10 mm hex head screws. 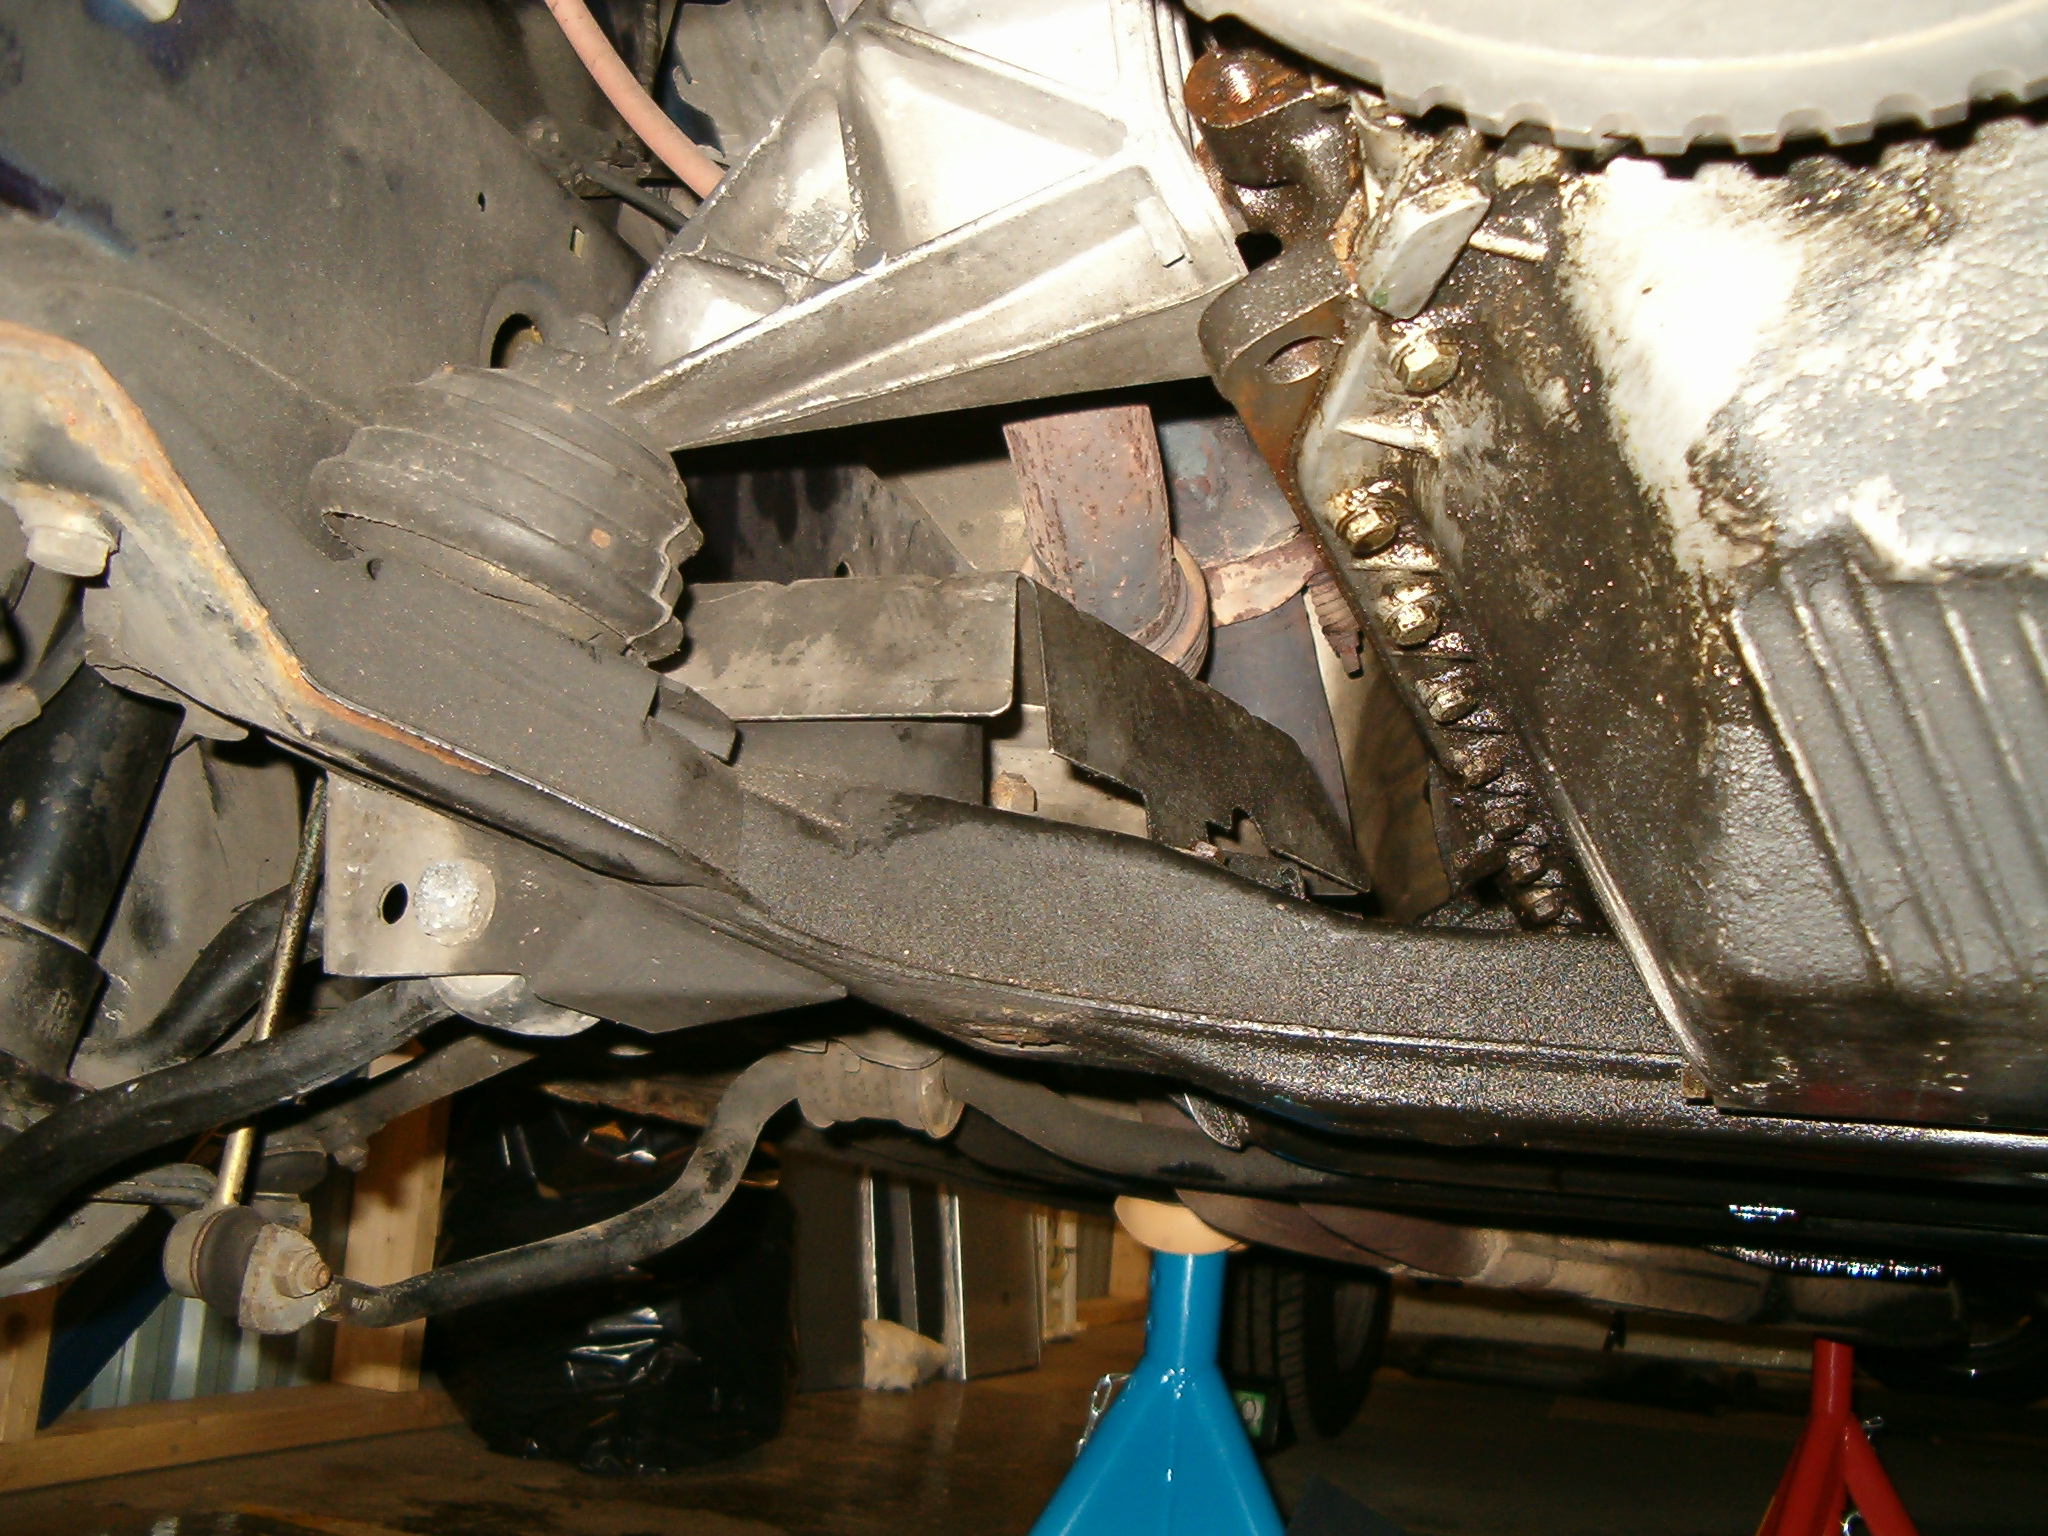 The metal heat shield covering the idler arm. Locate the lambda sensor on the catalytic converter and follow the cable until you find a connector (on the left side of the engine). Simply unscrew and disconnect. Undo the cable from the clip near the connector. Go back under the car and unscrew the thin metal shield protecting the lambda sensor cable (fastened with two 10 mm hex head plastic nuts). Also undo the cable from the clip near the catalytic converter. Roll together the cable and put it for example on top of the catalytic converter. Do not try to remove the lambda sensor if you not are planning to replace it. It can be very difficult to loosen it, especially before you have removed it from the car. 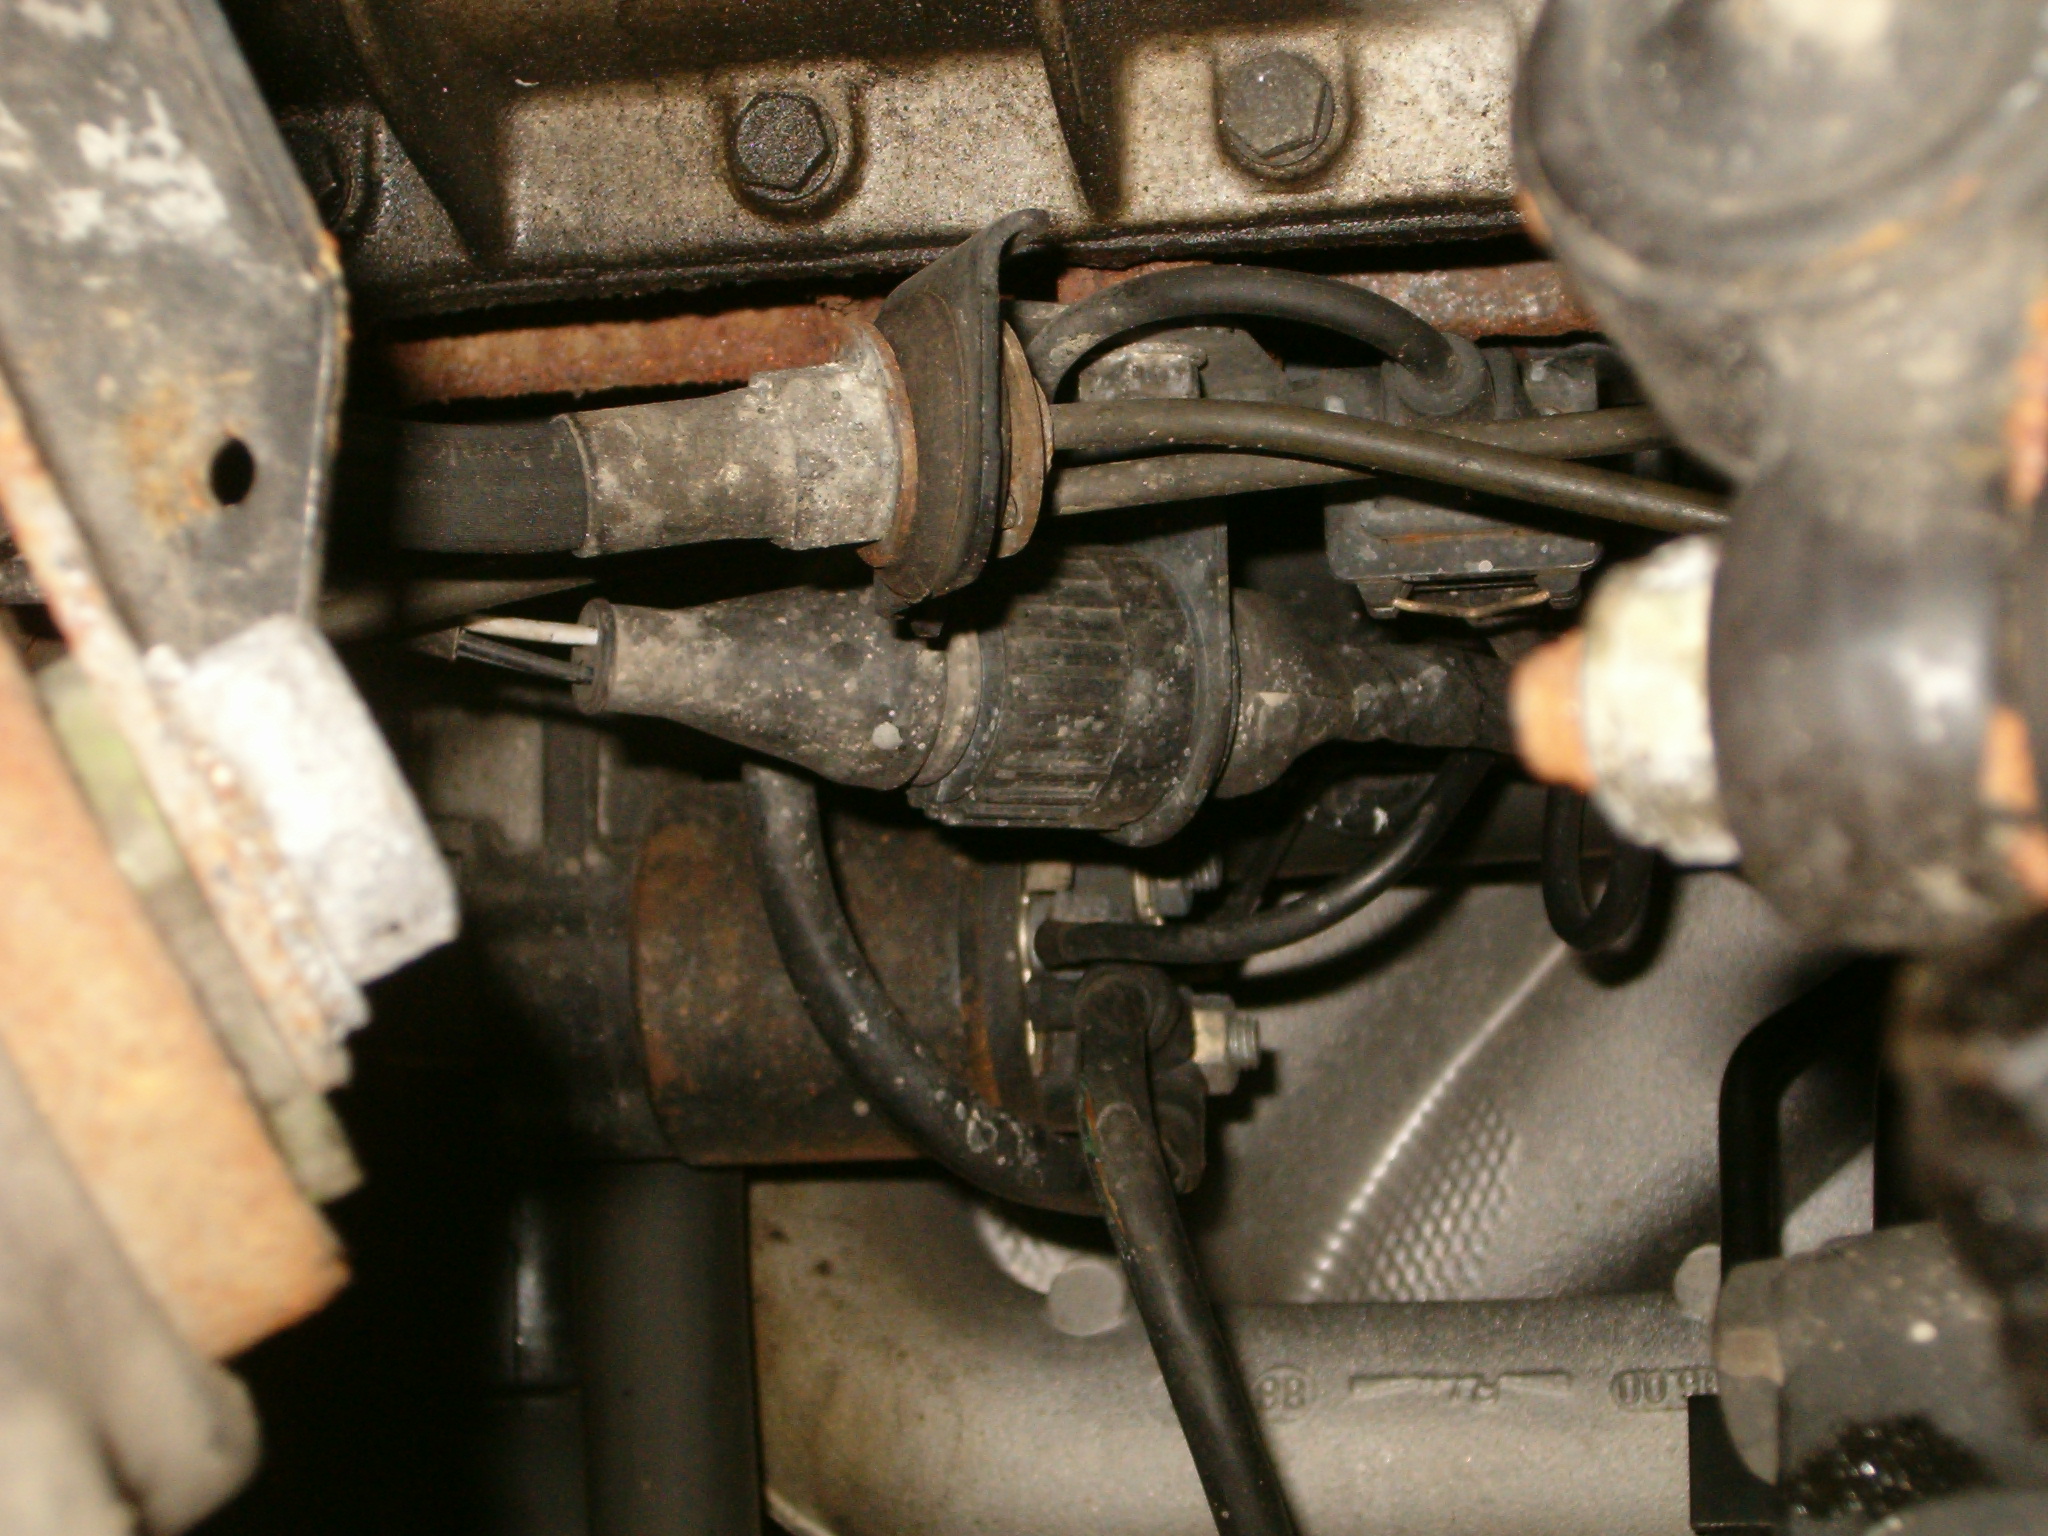 The lambda sensor connector on the left side of the engine. 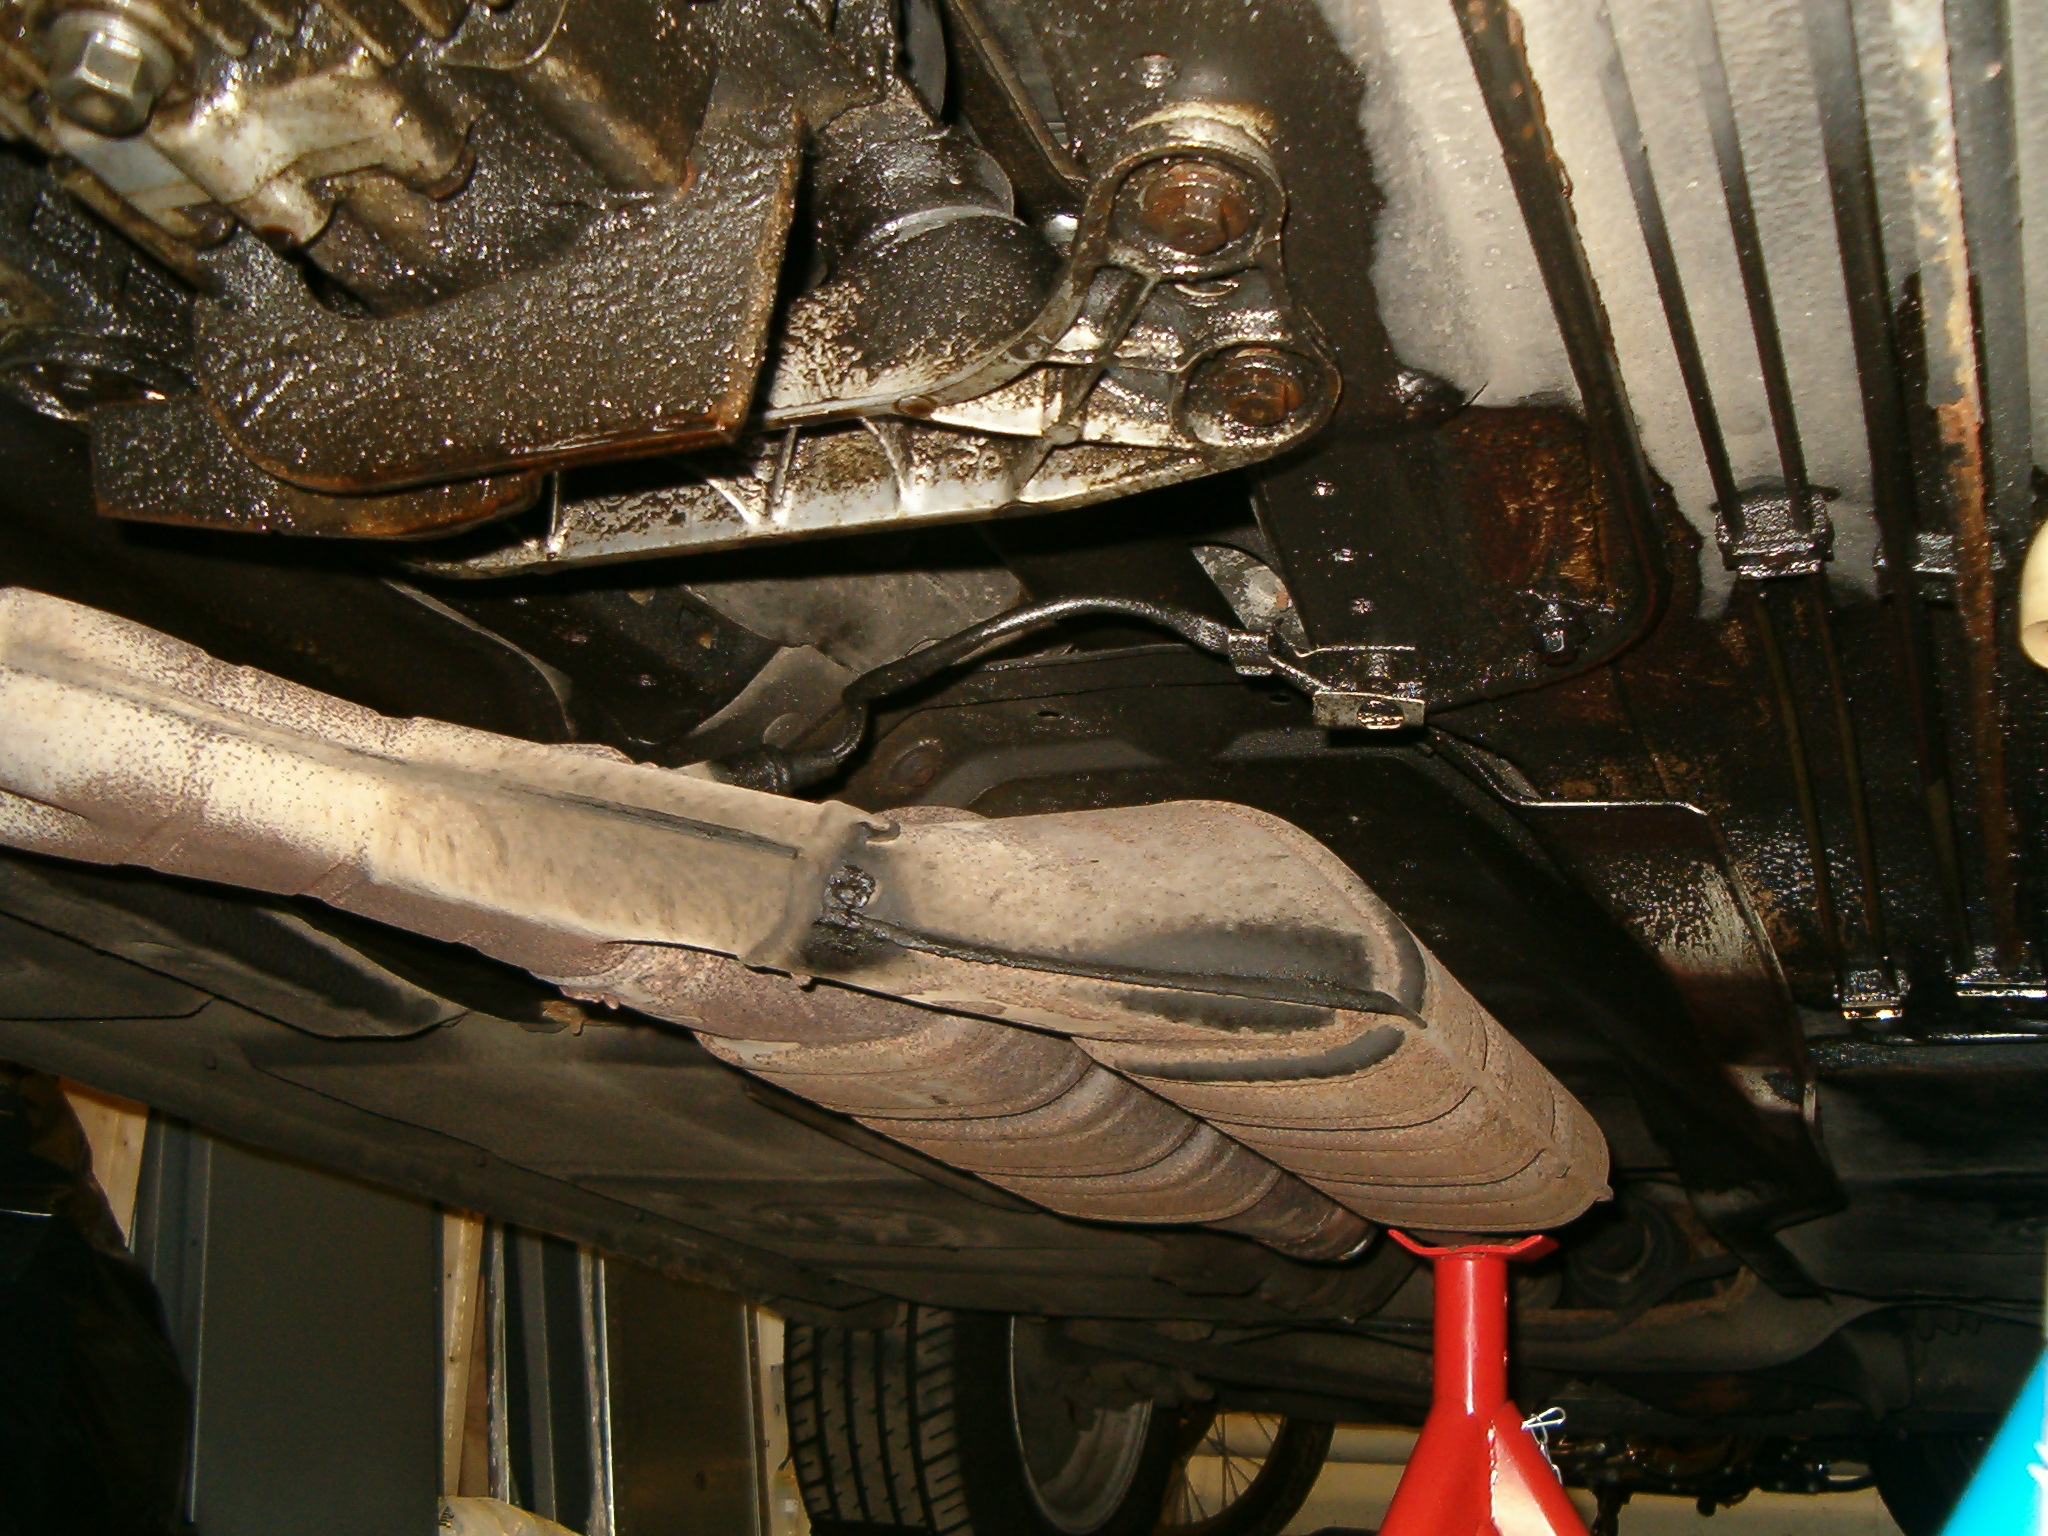 The lambda sensor, cable and the thin metal shield protecting the cable visible. Undo the four 12 mm hex head nuts connecting the exhaust manifold with the front exhaust pipes. A combination of a 1/2" 12 mm socket (6-point), 1/2" 250 mm socket extension bar and a 1/2" 380 mm breaker bar. Be aware! If the nuts are old there is a great probability that you will snap the stud instead of get the nut free. If so, considering cracking the nuts or be at least prepared to spend some hours getting the broken studs out of the exhaust manifold.  Exhaust manifold connected with a front exhaust pipe. Each pipe serves three cylinders. Lowering the catalytic converter carefully using for example a jack. Then remove the heat shield now visible after the catalytic converter has been removed. The heat shield is fastened with six 13 mm hex head screws. Finally the driveshaft is visible!  The catalytic converter together with the lambda sensor and cable removed. In next part we start removing the driveshaft! |